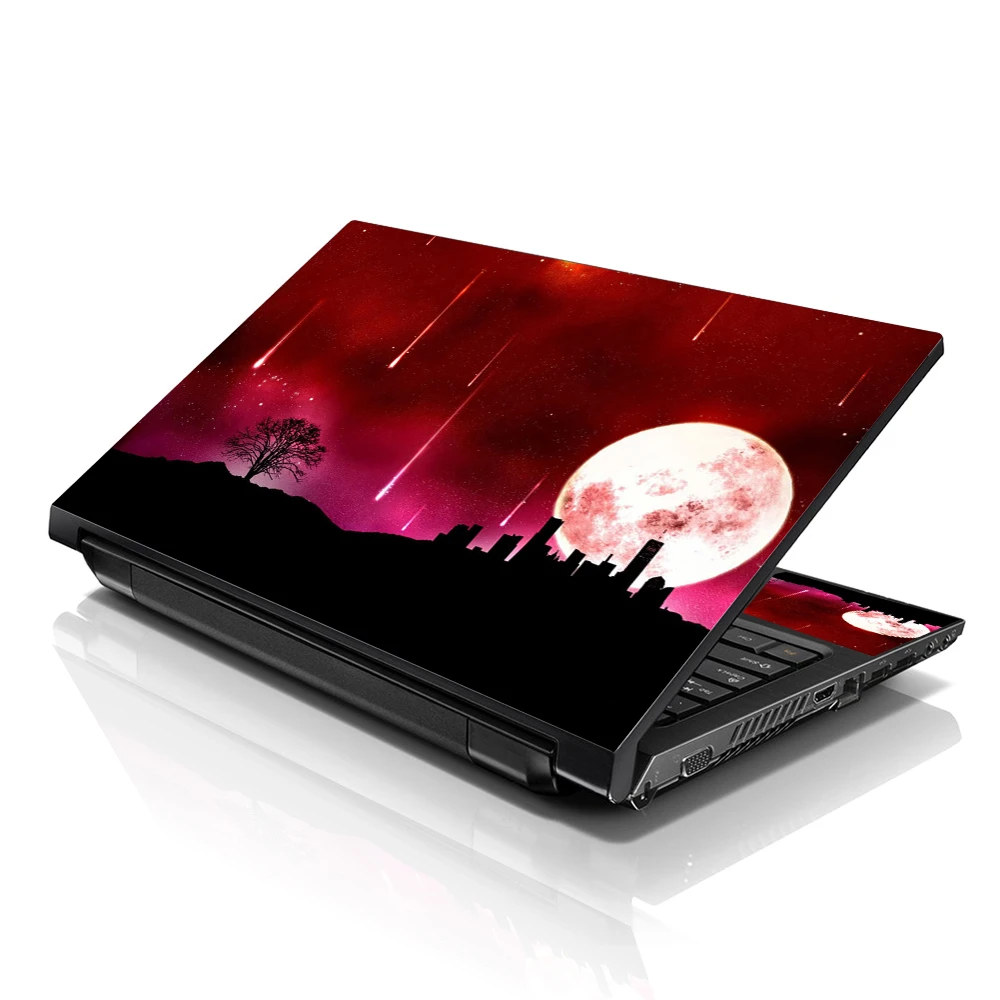
Applying a laptop skin may seem straightforward, but several common mistakes can affect the final result. Whether you're a first-time user or have some experience with laptop skins, understanding these pitfalls can help you achieve a smooth and professional application. Here are some of the most frequent mistakes to avoid:
Not Cleaning the Laptop Surface Properly
One of the primary steps in applying a laptop skin is ensuring that the laptop surface is clean and free of dust, fingerprints, and oils. Many people overlook this step or need to clean the surface thoroughly enough. Any debris left on the laptop can prevent the skin from adhering correctly, leading to bubbles and uneven application.
Before applying the skin:
Use a gentle cleaning solution or alcohol wipe to clean the entire surface of the laptop.Pay close attention to areas around the keyboard and edges where dust accumulates.Allow the computer to dry completely before applying to ensure a clean and smooth surface for the skin to adhere to.Incorrectly Aligning the Skin
Proper alignment is crucial for a neat and professional-looking laptop skin application. One common mistake is to align incorrectly align the skin with the laptop's edges and features. This can result in the skin overlapping ports, vents, or the laptop's logo, hindering functionality or aesthetics.
To avoid this mistake:
Carefully align the skin with the laptop's edges and features before removing the backing.Use the laptop's ports, corners, and logo as reference points to ensure the skin is centered and properly positioned.Take your time during this step to achieve an accurate alignment, as it will determine the final appearance and functionality of the skin.Stretching the Skin During Application
Some users make the mistake of stretching the skin during application, especially when trying to smooth out wrinkles or bubbles. Stretching the skin can distort the design and cause it to lose its intended shape. Additionally, stretched skin is more likely to peel off over time as it does not adhere properly to the laptop surface.
Instead of stretching, gently lift the skin and reposition it if necessary to eliminate wrinkles or bubbles. Use a squeegee or credit card to press the skin firmly onto the laptop surface, working from the center outwards to push out any air bubbles. This method ensures a smooth application without compromising the integrity of the skin's design.
Removing the Backing Too Quickly
The backing of laptop skins is designed to protect the adhesive until application. One common mistake is removing the backing too quickly, which can cause the skin to fold over or attract dust and debris. This can make it challenging to achieve a clean and smooth application.
Instead, peel back a small portion of the backing and gradually remove it as you smooth the skin onto the laptop surface. This approach minimizes the risk of the skin sticking to itself or attracting dust. Work in small sections, ensuring each part adheres smoothly before moving on to the next.
Not Using Proper Tools
Applying a laptop skin requires the right tools to ensure a successful application. Using makeshift tools or your fingers alone can lead to uneven application and air bubbles under the skin. Tools such as a squeegee, credit card, or microfiber cloth are essential for smoothing the skin and effectively pushing out air bubbles.
Before starting the application process, gather the necessary tools to ensure a smooth and professional result. A squeegee or credit card helps flatten the skin and remove air bubbles, while a microfiber cloth can clean and prep the laptop surface. Investing in these tools will make the application process easier and more efficient.
Applying Excessive Heat
Some users attempt to speed up the laptop skins application process using excessive heat, such as a hairdryer or heat gun. While heat can help the skin conform to the laptop's contours, too much heat can damage the skin's adhesive or cause the laptop's surface to warp or discolor.
If heat is necessary, use it sparingly and at a low setting. Gently warm the skin as you apply it, using smooth motions to ensure even adherence. Avoid concentrating heat on one area for too long, and regularly check the skin's alignment and adhesion. Patience and gentle pressure are crucial to achieving a smooth application without compromising the laptop or the skin.
Ignoring Air Bubbles
Air bubbles can occur significantly during laptop skin application if the skin is not smoothed out properly. Ignoring air bubbles or assuming they will disappear independently can result in an uneven appearance and reduced adhesion over time.
After applying the skin:
Use a squeegee or credit card to gently push out any air bubbles toward the laptop's nearest edge.Work methodically from the center outwards, applying even pressure to ensure the skin adheres smoothly.If tiny bubbles persist, use a pin or needle to carefully puncture the bubble and press out the air before smoothing the area again.Skipping the Edges and Corners
The edges and corners of a laptop are prone to lifting, mainly if the skin is not applied correctly. Skipping these areas or not pressing the skin firmly around the edges can lead to premature peeling and an unsightly appearance.
Pay extra attention to the edges and corners of the laptop during the application process. Use your fingers or a squeegee to press the skin firmly around these areas, ensuring it adheres securely. Smooth any wrinkles or excess material to prevent lifting and provide a seamless look.
Not Allowing Sufficient Drying Time
Once the laptop skin is applied, it's essential to allow sufficient time for the adhesive to set and bond with the laptop surface. Rushing to use the laptop immediately after application can disturb the skin and compromise its adhesion.
Follow the manufacturer's instructions regarding drying time, which typically ranges from a few hours to overnight. Avoid moving or using the laptop during this period to allow the skin to adhere properly. This waiting period ensures a durable bond between the skin and the computer, prolonging the application's lifespan.
Applying in Poor Conditions
Applying a laptop skin in unsuitable conditions can affect the adhesive's performance and the overall quality of the application. Factors such as high humidity, dust, or temperature extremes can hinder the skin's ability to adhere properly.
Choose a clean, well-lit environment with moderate temperature and low humidity for applying the skin. Minimize dust and airborne particles by working away from open windows or fans. These conditions create an optimal environment for a successful application and ensure the longevity of the laptop skin.
Ignoring Manufacturer Instructions
Every laptop skin comes with specific manufacturer instructions for application and care. Ignoring these instructions or assuming all skins are applied the same way can lead to mistakes and subpar results.
Read and follow the manufacturer's instructions carefully before applying the laptop skin. These guidelines provide valuable tips on preparation, application techniques, and care instructions to maximize the skin's lifespan and appearance. Following the instructions ensures you get the most out of your laptop skin and avoid common pitfalls.
Not Checking Compatibility
Laptop skins are designed to fit specific laptop models and sizes. Failing to check compatibility before purchasing or applying a skin can result in poor fit or functionality issues. Skins that are too large may cover ports or vents, while skins that are too small may not fully cover the laptop surface.
Before purchasing a skin it laptop, verify its compatibility with your laptop model. Manufacturers often list compatible laptops or measurements to ensure a proper fit. Confirming compatibility prevents the hassle of returning or adjusting the skin and provides seamless integration with your computer.
Conclusion
Applying a laptop skin requires attention to detail, patience, and the tools to achieve a professional result. By avoiding these common mistakes, you can ensure a smooth application that enhances the appearance and protection of your laptop. Whether you're customizing your laptop for style or functionality, proper preparation and technique are essential for a successful skin application that lasts.


Sign in to leave a comment.