Managing disk space is one of those tasks most Windows users ignore until something goes wrong. A slow system, constant “low disk space” warnings, or the fear of losing important files can quickly turn a normal day into a stressful one. This is where learning how to partition Windows properly becomes extremely valuable. It’s not just a technical trick for experts; it’s a practical skill that everyday users can benefit from.
This guide is written especially for general readers, bloggers, students, and professionals the kind of audience you’ll find on WriteUpCafe. We’ll explain partitioning in clear, simple language, without unnecessary jargon, and focus on real-world benefits you can actually use.
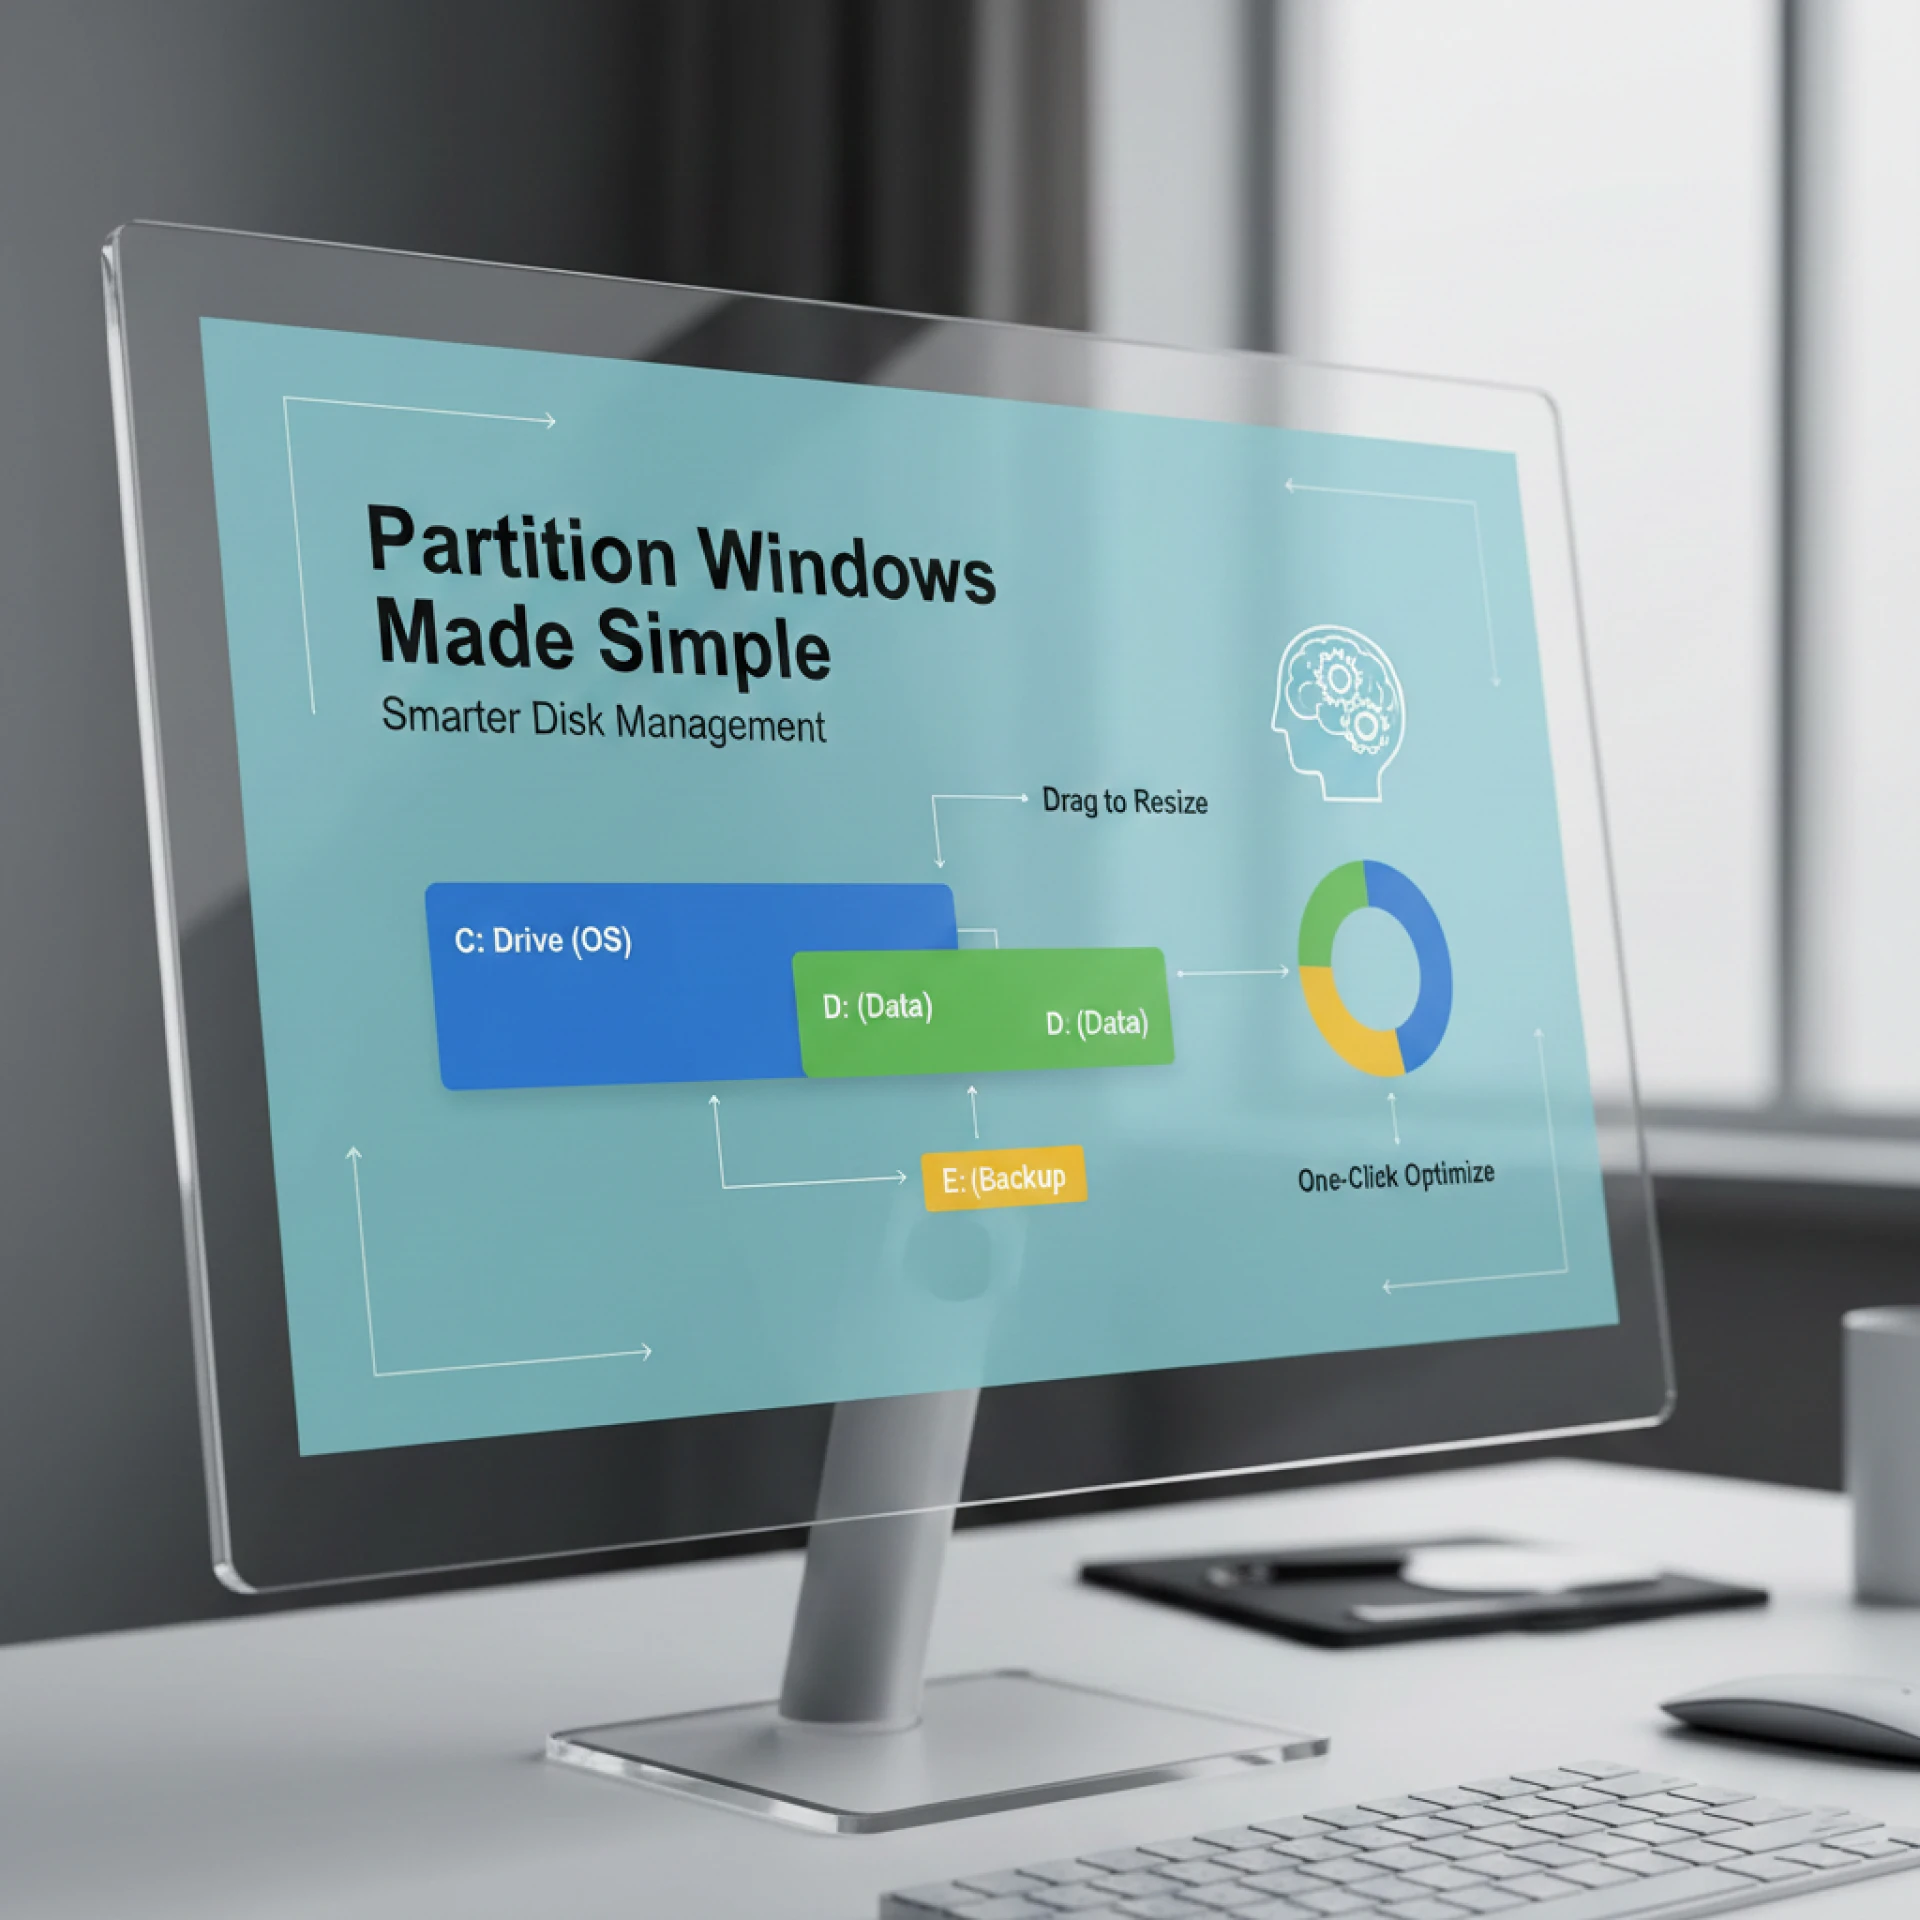
What Does Partition Windows Mean?
When you partition Windows, you divide a single physical hard drive into multiple logical sections called partitions. Each partition works like a separate drive with its own letter (such as C:, D:, or E:), even though they all exist on the same disk.
A Simple Way to Understand It
Imagine your hard drive as a cupboard:
- One shelf for Windows system files
- One shelf for documents and work files
- One shelf for movies, music, or backups
Partitioning creates these shelves, making storage cleaner, safer, and easier to manage.
Why You Should Partition Windows
Partitioning is not mandatory, but it offers several strong advantages that can improve your daily computing experience.
Better Organization
Separating your operating system from personal files keeps everything tidy. You always know where your data is stored.
Data Protection
If Windows crashes or needs to be reinstalled, your files stored on another partition usually remain safe.
Easier Backups
Backing up only your data partition saves time and storage space compared to backing up the entire drive.
Faster System Recovery
Reinstalling Windows is quicker when system files are isolated from personal data.
Common Types of Partitions in Windows
Before you partition Windows, it’s helpful to understand the different partition types you might see.
Primary Partition
This is where Windows is usually installed. A disk can have multiple primary partitions, but only one is active for booting.
Logical Partition
Logical partitions are mainly used for data storage and exist inside an extended partition.
System Reserved Partition
Windows creates this automatically during installation. It contains important boot files and should not be altered.
When Is the Right Time to Partition Windows?
You can partition at almost any time, but some moments are more ideal than others.
During a Fresh Windows Installation
This is the cleanest and safest time to create partitions.
When Your C: Drive Is Always Full
If your system drive constantly runs out of space, moving data to a separate partition can help.
Before Major Changes
Upgrading Windows, switching to an SSD, or reorganizing storage is a good opportunity to partition properly.
How to Partition Windows Using Built-In Tools
The good news is that Windows includes a built-in tool called Disk Management, which is more than enough for basic partitioning.
Accessing Disk Management
- Right-click This PC or My Computer
- Select Manage
- Click Disk Management
Here, you can see all your drives and partitions in one place.
Shrinking an Existing Partition
If your hard drive has only one partition, you can shrink it to create space for a new one.
Steps to Shrink a Partition:
- Right-click the main drive (usually C:)
- Select Shrink Volume
- Enter how much space you want to free
- Click Shrink
The freed space will appear as unallocated space.
Creating a New Partition
Once you have unallocated space, creating a new partition is straightforward.
- Right-click the unallocated space
- Choose New Simple Volume
- Follow the on-screen instructions
- Assign a drive letter and format the partition
Within minutes, your new partition will be ready to use.
Best Practices for Partition Windows Safely
Partitioning is generally safe, but following best practices ensures you avoid problems.
Always Back Up Important Files
Even though partitioning rarely causes issues, a backup gives you peace of mind.
Keep the System Partition Spacious
Windows needs space for updates, temporary files, and installed programs.
Don’t Create Too Many Partitions
Two or three partitions are usually enough for most users.
Use Clear Labels
Naming partitions like “System,” “Work,” or “Media” helps prevent confusion later.
Common Mistakes to Avoid
Many beginners make simple mistakes that can create long-term issues.
Making the C: Drive Too Small
A cramped system partition can cause slow performance and update failures.
Formatting the Wrong Partition
Always double-check before formatting this mistake can permanently erase data.
Deleting Recovery or System Partitions
These partitions are important for Windows stability and recovery.
Does Partition Windows Improve Performance?
Partitioning alone won’t magically speed up your PC, but it supports better performance indirectly.
Cleaner System Maintenance
Reinstalling Windows is faster when personal files are stored separately.
Reduced Clutter
An organized drive makes file access and management easier.
Better Storage Planning
Partitioning helps you monitor how space is used and prevent overloads.
Partition Windows for Different Types of Users
Partitioning can be customized based on how you use your computer.
Students and Office Workers
- System partition for Windows and software
- Data partition for documents and projects
Bloggers and Content Creators
- System partition
- Content partition for articles, images, and videos
- Optional backup partition
Home Users
- System partition
- Media partition for movies, music, and photos
Do You Need Third-Party Software?
For basic tasks, Windows Disk Management is enough. However, third-party tools may help with advanced features like:
- Moving partitions without deleting data
- Merging partitions
- Resizing system partitions more flexibly
If you’re comfortable with built-in tools, you can easily partition Windows without additional software.
Important Safety Tips Before Partitioning
Before making any changes:
- Close all running programs
- Ensure your device has stable power
- Avoid interruptions during the process
- Read each option carefully before clicking
These simple precautions reduce risk significantly.
Conclusion: Take Control by Partitioning Windows
Learning how to partition Windows is one of the smartest steps you can take toward better disk management. It improves organization, protects your data, and makes system maintenance easier. You don’t need advanced technical skills just a clear plan and careful execution.
Whether you’re setting up a new PC or trying to fix storage issues on an old one, partitioning gives you control over how your data is stored and protected. With the knowledge from this guide, you can confidently manage your disk space and enjoy a smoother Windows experience.
Frequently Asked Questions (FAQ)
1. Is it safe to partition Windows without losing data?
Yes, especially when using Windows Disk Management. Still, backing up important files is highly recommended.
2. How many partitions should I create?
For most users, two or three partitions are enough one for Windows and one or two for data.
3. Can I partition Windows after installation?
Yes. Windows allows you to shrink and create partitions even after it’s installed.
4. Does partitioning slow down a computer?
No. Partitioning does not reduce performance and often improves organization and maintenance efficiency.
5. Should I partition an SSD?
Yes, but keep it simple. SSDs benefit from clean organization rather than many partitions.
Sign in to leave a comment.