
When it comes to professional photography and high-quality image editing, the type of file format you use can make a huge difference. Many photographers shoot and store images in JPG (JPEG) format because it is widely supported, lightweight, and easy to share. However, for advanced editing and professional output, RAW format is preferred because it retains all the uncompressed details from the camera sensor.
In this guide, we will explain what JPG to RAW conversion means, its benefits, the best tools available, and different methods you can use. By the end, you’ll understand how to enhance your images for editing, printing, and professional use.
What is JPG to RAW Conversion?
- JPG (Joint Photographic Experts Group): A compressed image format that reduces file size by discarding some image data. Ideal for storage, sharing, and quick use.
- RAW: An uncompressed format that captures all sensor data from the camera, including color depth, light exposure, and fine details.
When you convert JPG to RAW, you are essentially reconstructing image data to create a file that behaves like a RAW photo. While it won’t magically restore all lost details, the conversion can give you more flexibility in editing and simulate RAW-like advantages.
Why Convert JPG to RAW?
Here are some key benefits of JPG to RAW conversion:
1. Improved Editing Flexibility
- RAW files retain more detail in highlights, shadows, and color tones.
- You can adjust exposure, white balance, and contrast without degrading image quality.
2. Better Printing Quality
- Printing large-size images from JPG can lead to pixelation.
- RAW provides better resolution and detail retention.
3. Professional Workflow
- Photographers, designers, and editors often need RAW files for editing in Photoshop, Lightroom, or Capture One.
- Converting JPG to RAW makes images compatible with advanced workflows.
4. Color Grading & Retouching
- RAW allows 16-bit color depth, compared to JPG’s 8-bit.
- This means you get smoother gradients and better control over skin tones, HDR edits, and cinematic effects.
5. Archival Purposes
- Professionals often archive in RAW for future-proof editing.
- A converted RAW file preserves more flexibility compared to a compressed JPG.
Methods of Converting JPG to RAW
There are multiple ways to perform a JPG to RAW conversion. Let’s break them down:
1. Using Online JPG to RAW Converters
- Online tools like A2ZConverter and others make it super easy.
- Just upload your JPG, select RAW as output, and download the converted file.
- Benefits: No software installation, quick, free, accessible anywhere.
2. Using Desktop Software
Some professional software offers JPG to RAW conversion along with advanced editing features:
- Adobe Photoshop – Convert JPGs into RAW-like files via Camera Raw filter.
- Lightroom – Import JPGs and export them as RAW-compatible DNG files.
- Capture One – Great for photographers who need advanced color control.
3. AI-Based Converters
- Modern AI tools can reconstruct lost details from JPGs.
- They simulate missing data to give you a file closer to a real RAW image.
4. Camera Firmware & Plugins
- Some cameras and plugins allow in-camera conversion or RAW simulation.
- However, this is rare and depends on your camera brand.
Best JPG to RAW Converter Tools in 2025
Here’s a list of the top tools for JPG to RAW conversion:
- A2ZConverter (Online Tool)
- Free, simple, fast.
- Browser-based, no installation needed.
- Ideal for casual users.
- Adobe Photoshop
- Professional-grade editing.
- Convert JPGs to RAW-compatible DNG format.
- Perfect for advanced workflows.
- Lightroom Classic
- Import JPGs and export as RAW-like files.
- Excellent for photographers handling large batches.
- Capture One Pro
- High-quality RAW editor.
- Great color grading options.
- Online Alternatives
- Raw.pics.io
- Zamzar JPG to RAW converter
- Convertio
Step-by-Step Guide: Converting JPG to RAW
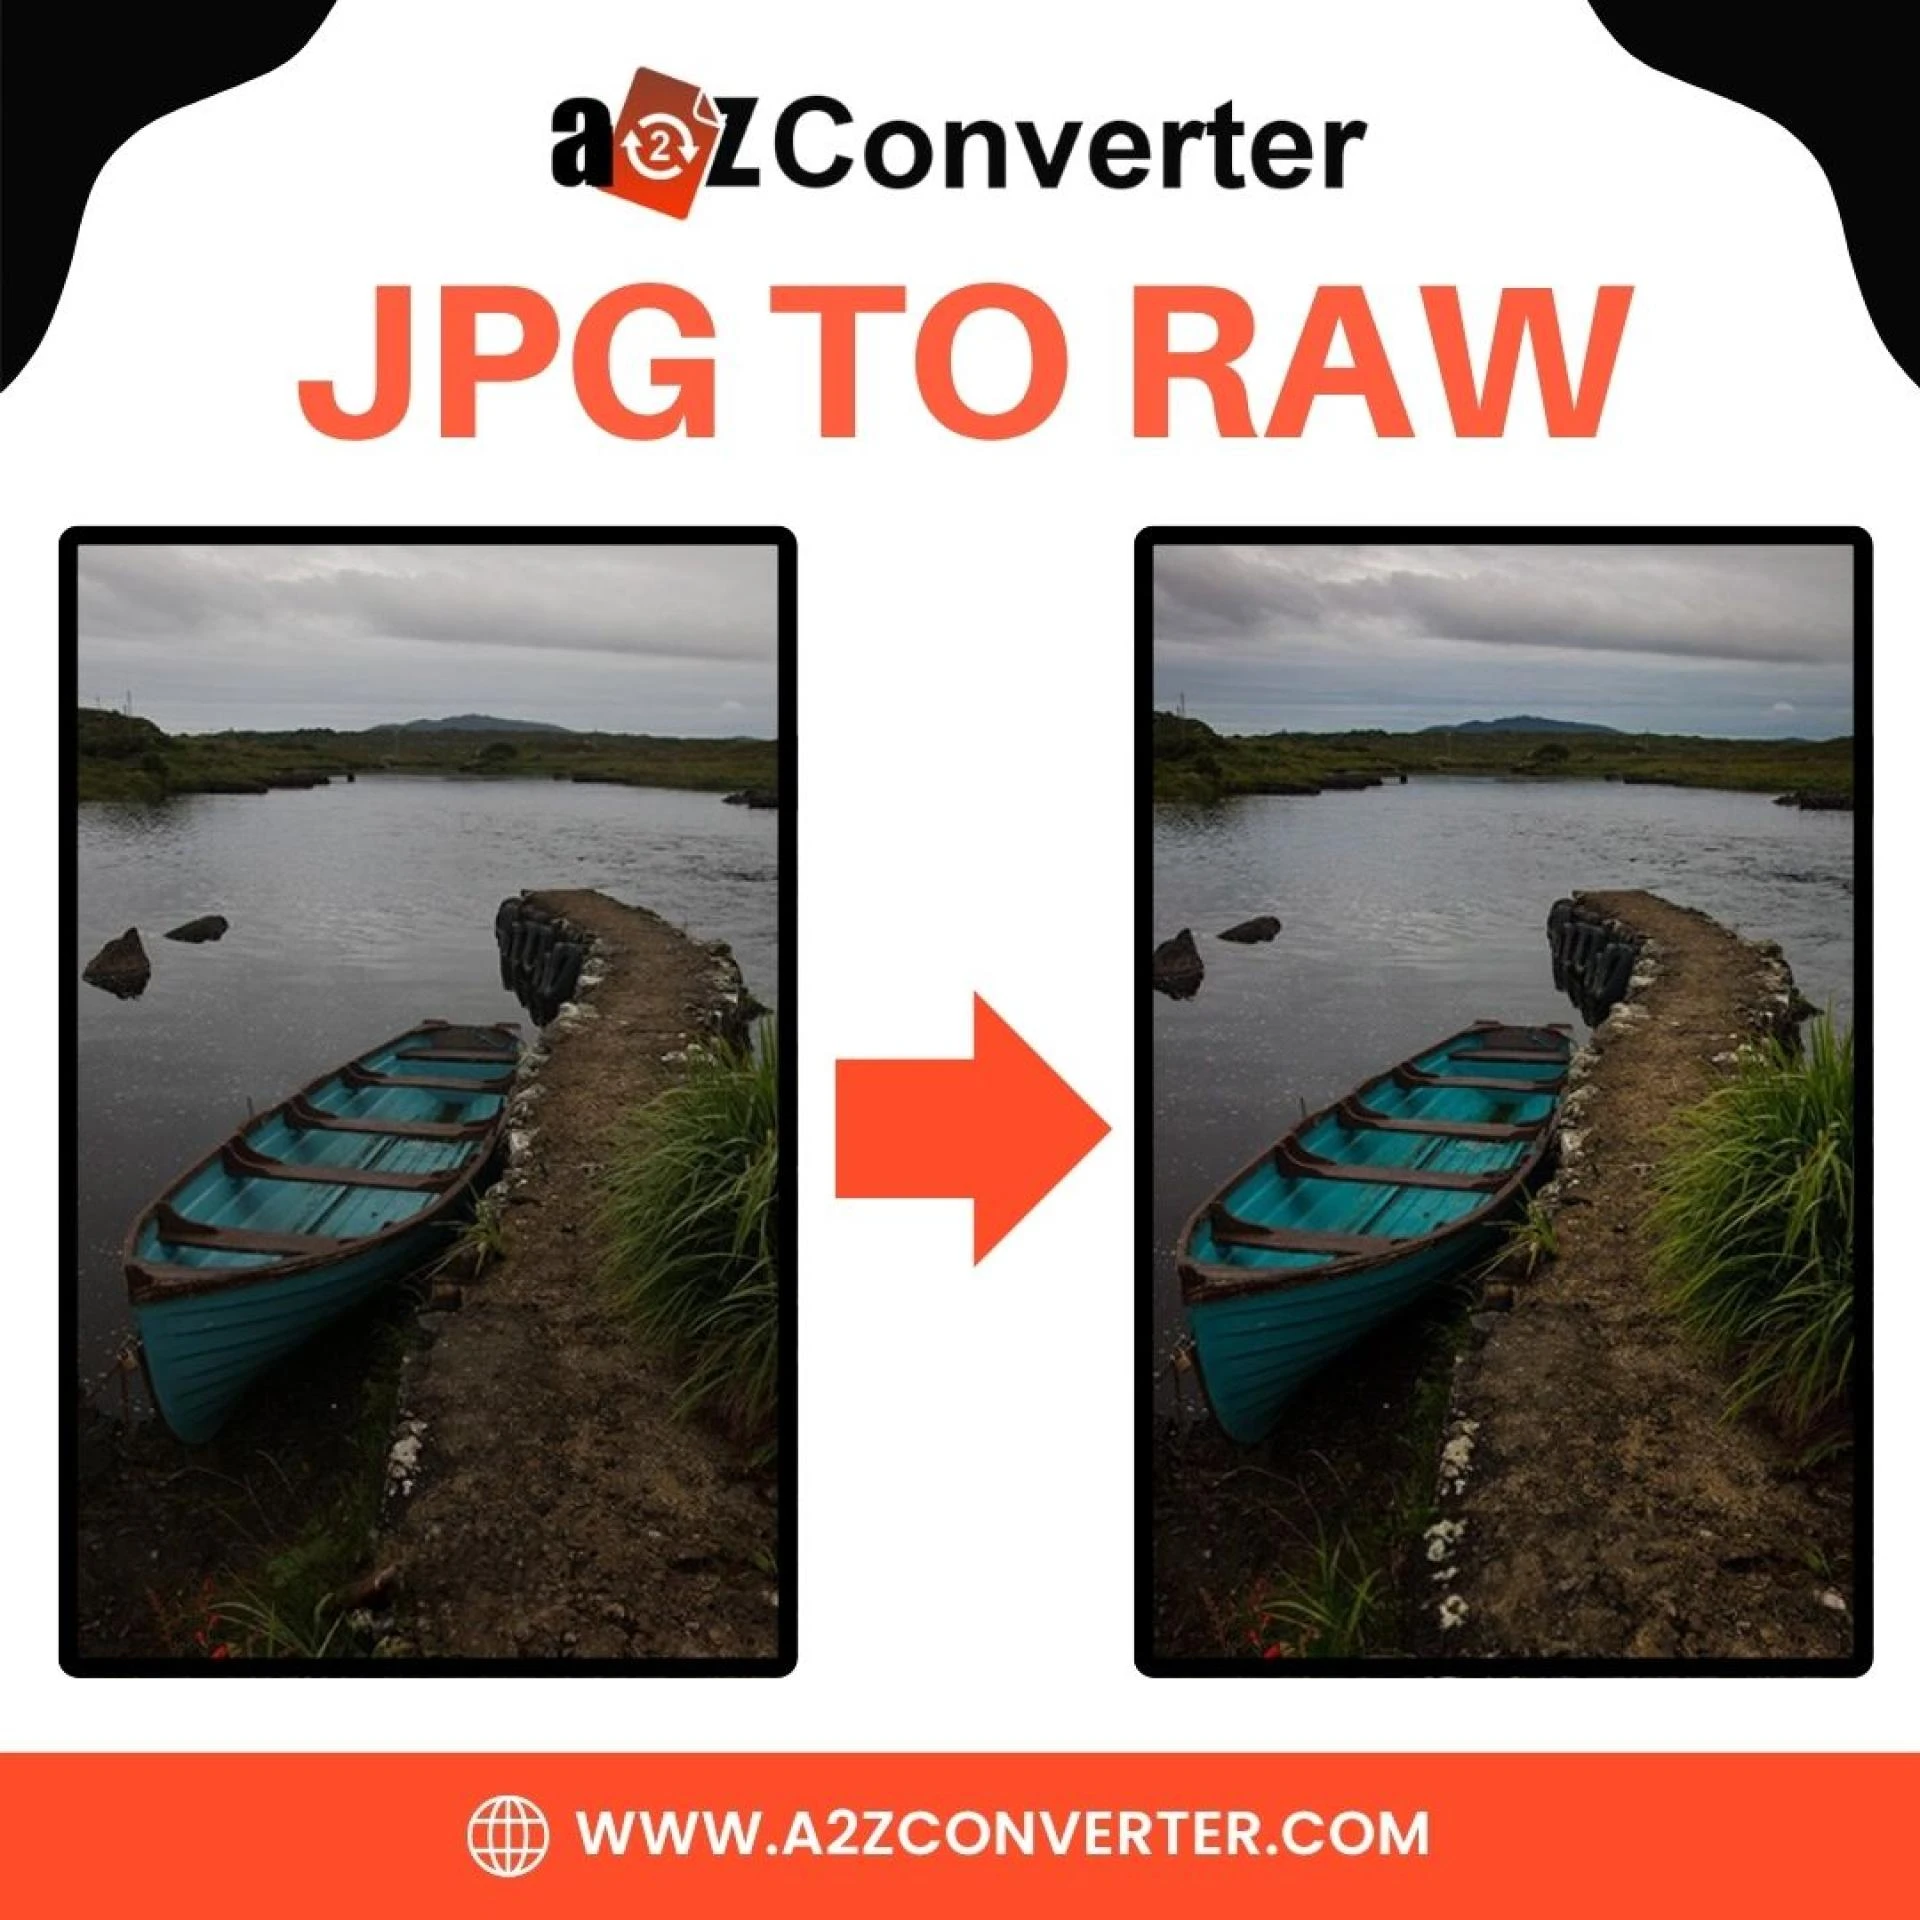
Method 1: Online Conversion with A2ZConverter
- Go to www.a2zconverter.com.
- Upload your JPG image.
- Select RAW as the output format.
- Click Convert Now and download your file.
Method 2: Photoshop Conversion
- Open your JPG in Photoshop.
- Go to Filter > Camera Raw Filter.
- Adjust exposure, tones, and details.
- Save as DNG or RAW-compatible file.
Method 3: Lightroom Workflow
- Import JPG into Lightroom.
- Make desired edits.
- Export as DNG (RAW format).
Limitations of JPG to RAW Conversion
While converting JPG to RAW offers many benefits, there are some limitations to keep in mind:
- A converted RAW will not be identical to a true RAW captured by a camera.
- Lost details due to JPG compression cannot be fully restored.
- File sizes will be much larger, taking up more storage.
In short, conversion is useful for editing and workflow purposes, but not a replacement for shooting in RAW directly.
Final Thoughts
Converting JPG to RAW is a valuable step for photographers, designers, and editors who need more control over their images. While it won’t restore all lost details, the process allows better editing flexibility, color grading, and professional workflow integration.
With tools like A2ZConverter, Photoshop, and Lightroom, you can easily perform this conversion in minutes. If you’re serious about photography, start exploring RAW formats today and see the difference in your editing results.


Sign in to leave a comment.